Nimotion Integrated Motor: Controlling Motor Position Using Analog Signals
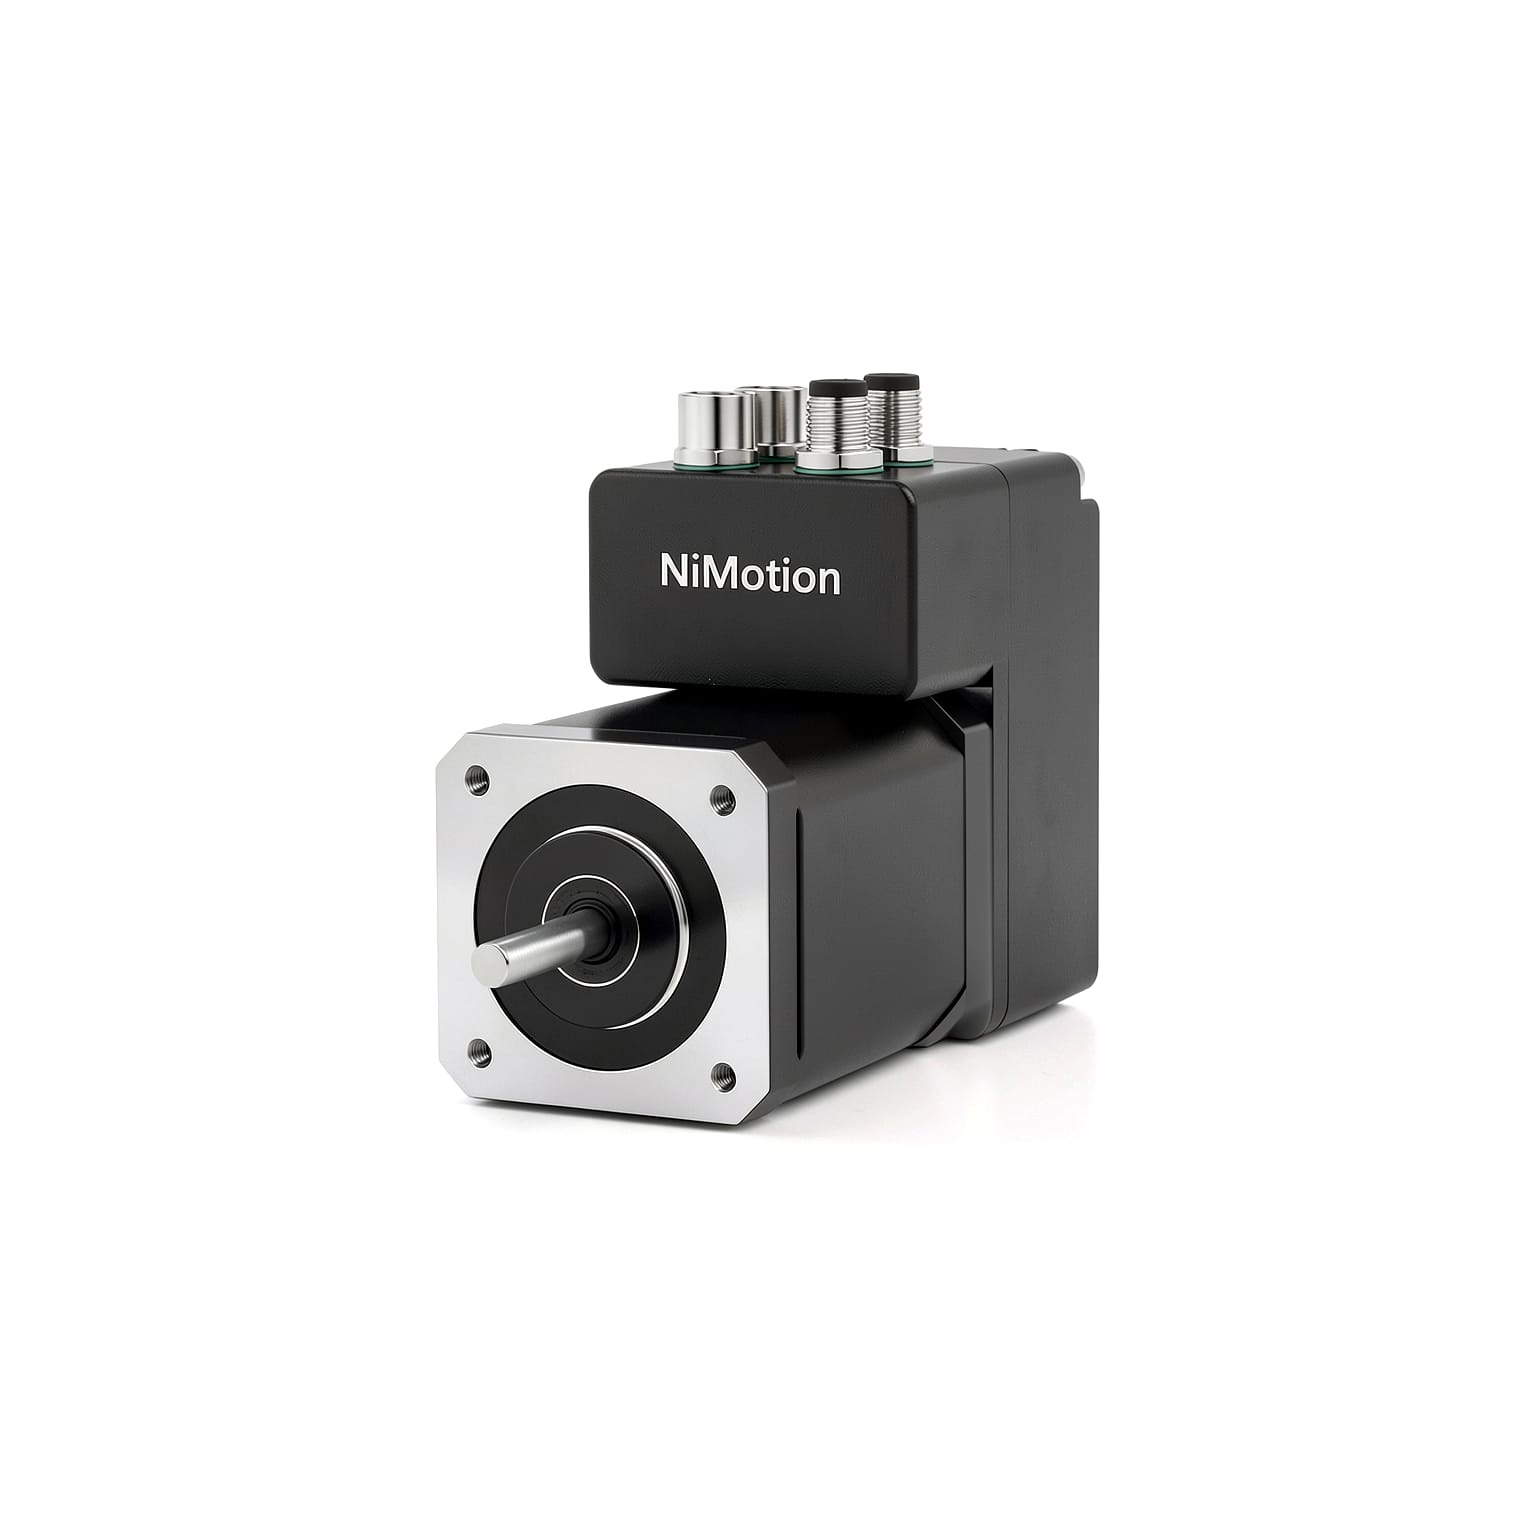
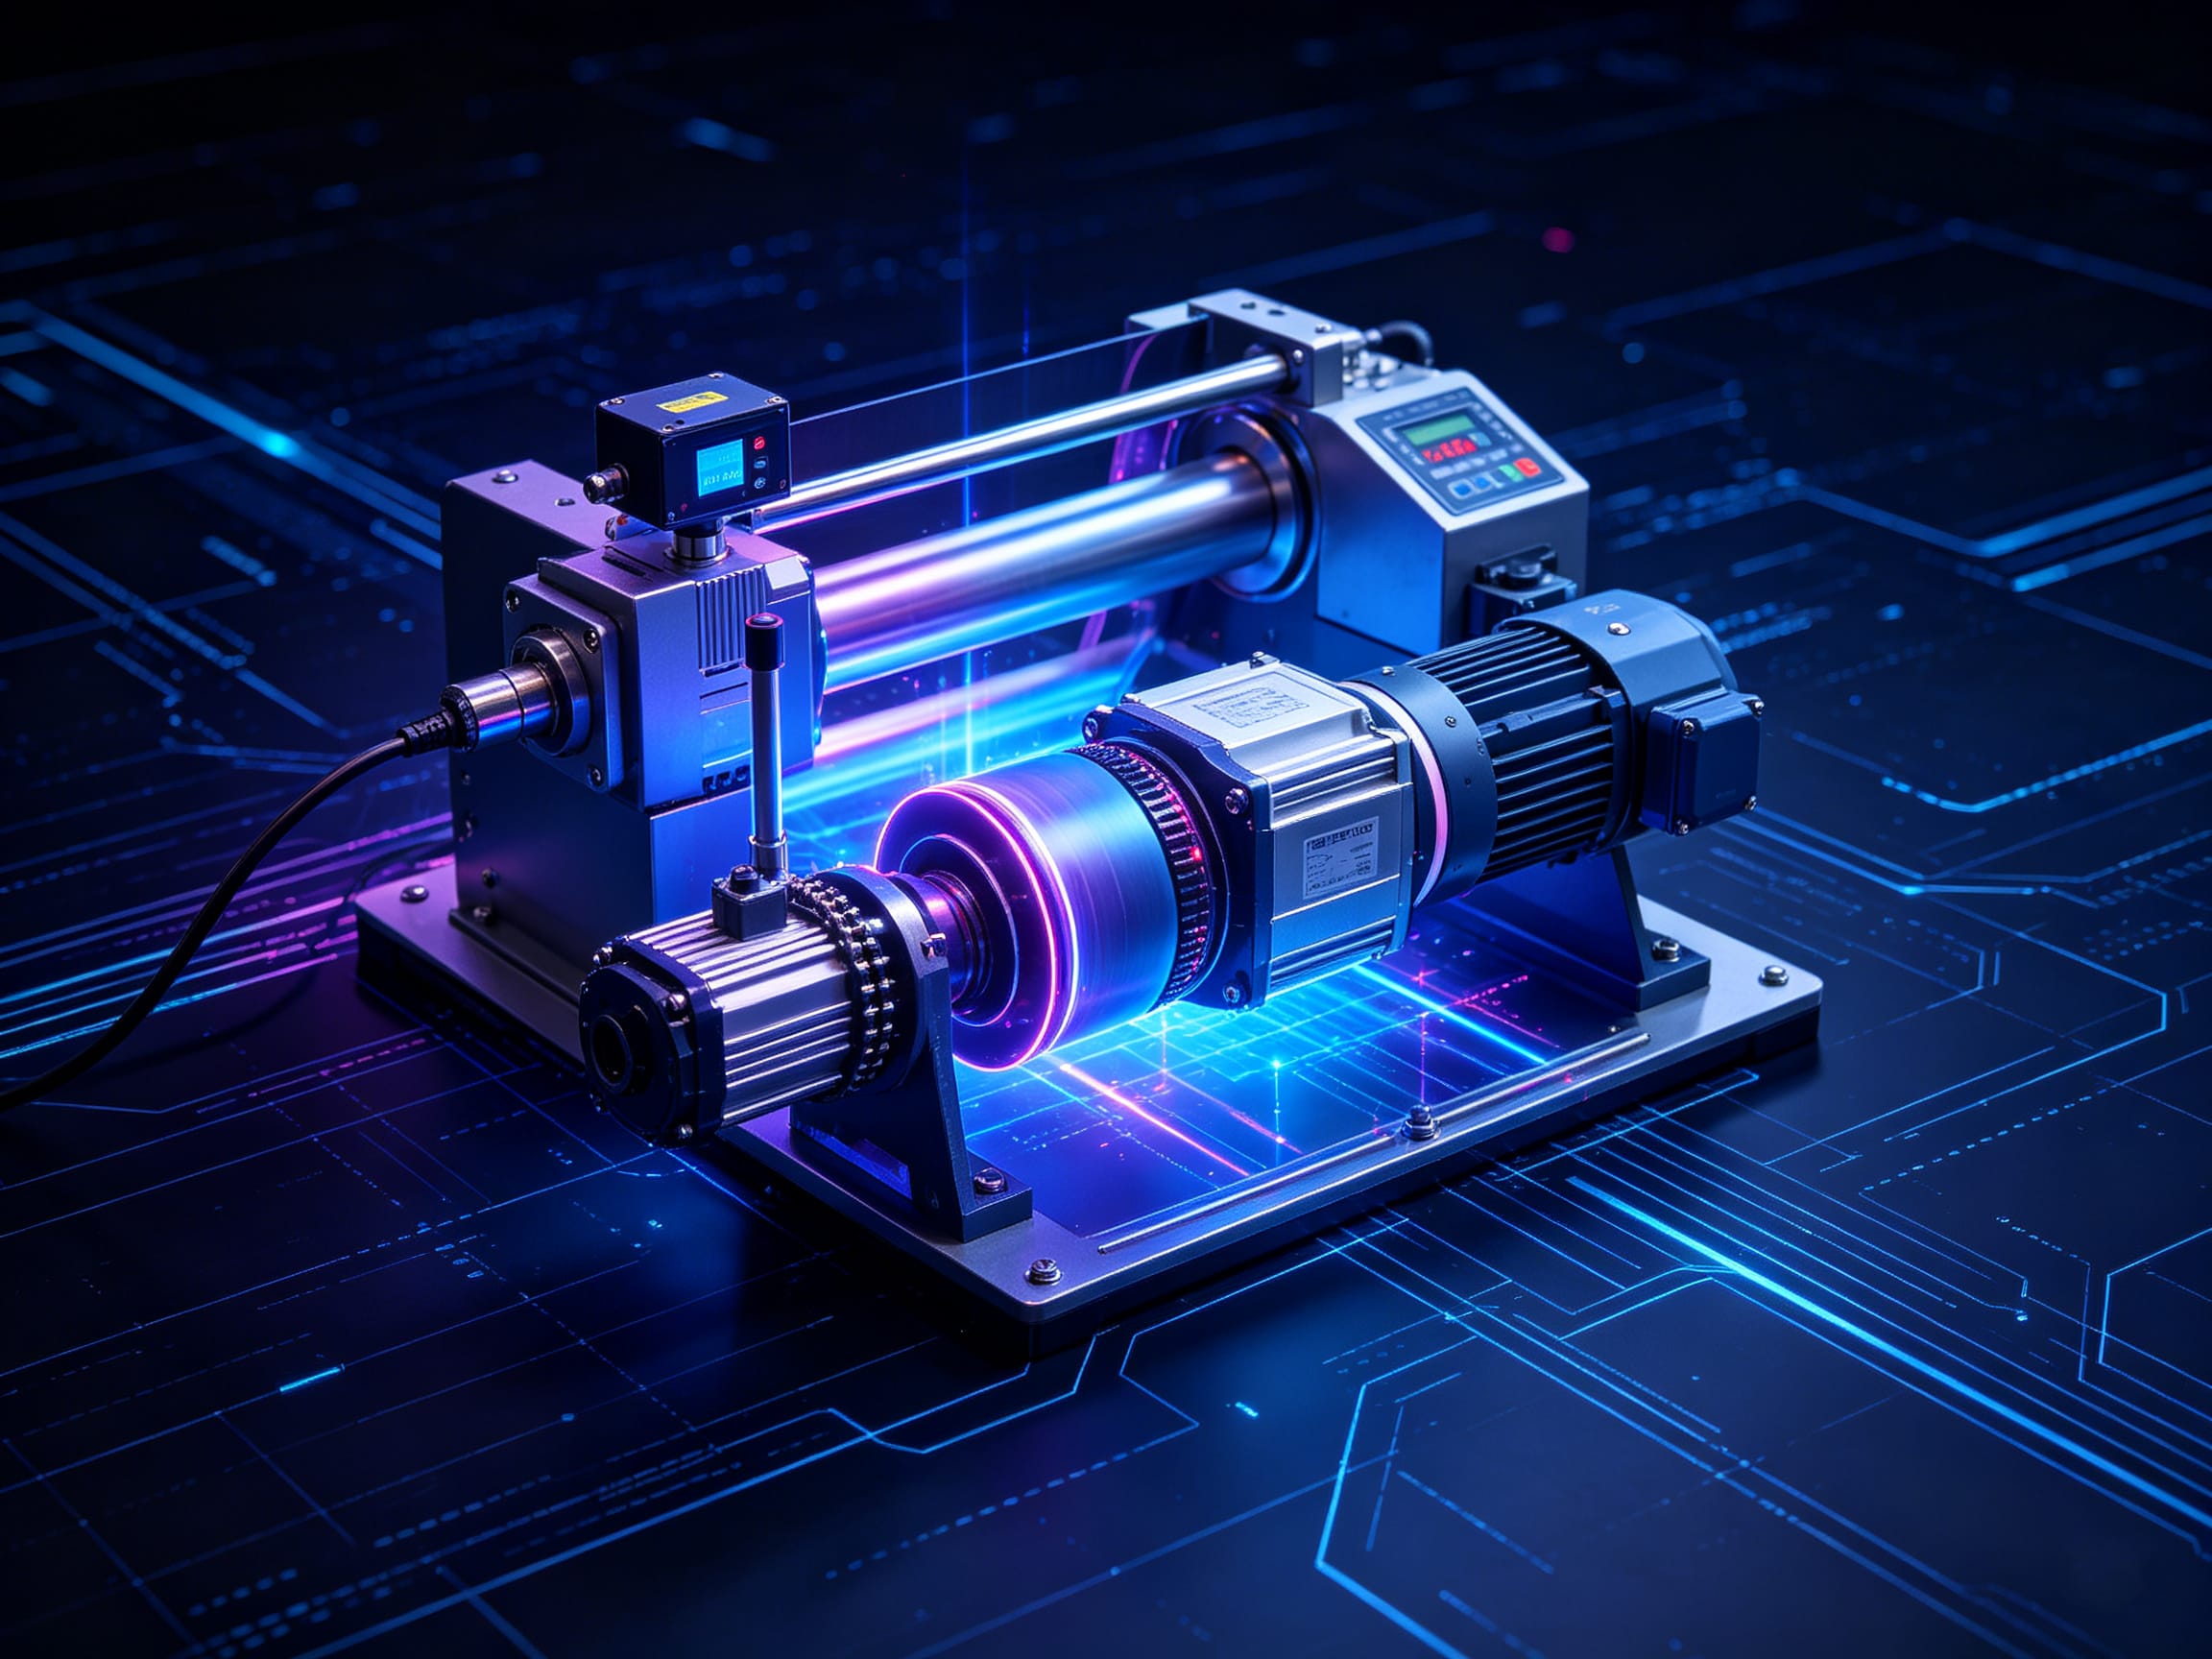
Among NiMotion’s integrated motor products—including the STM42M (and higher models), the PMM series, and the PSM series—the motors can receive and detect 0–10V analog signals, which can then be used to control motor operation. Below, we explain how to use a 0–10V analog signal to control the motor’s positioning:
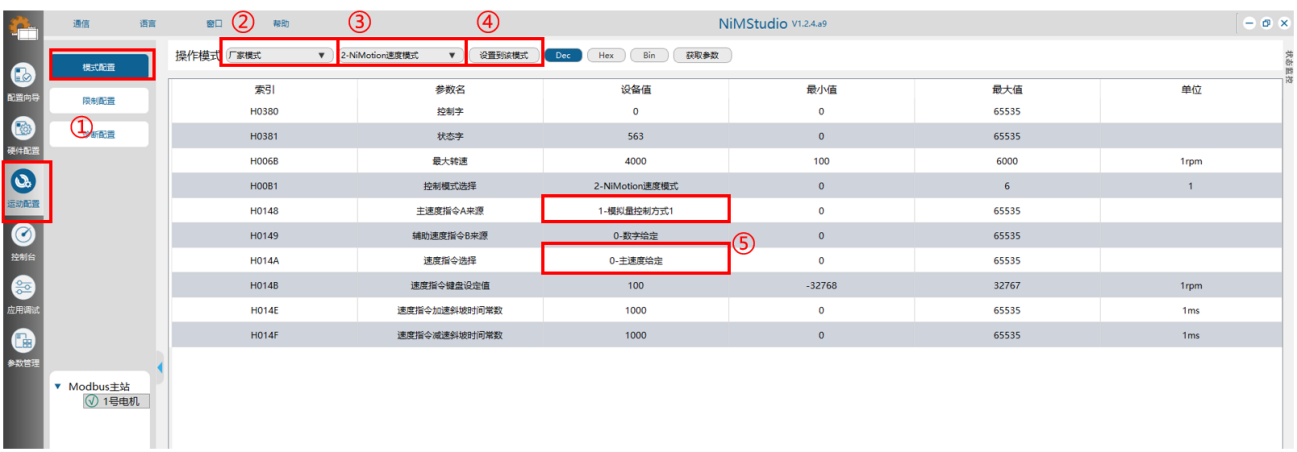
1. Switch to "Nimotion" position mode:
(1) Navigate to the "Motion Configuration" -> "Mode Configuration" interface;
(2) Select "Manufacturer Mode";
(3) Select "2-Nimotion Speed Mode";
(4) Click "Set to this mode";
(5) Set the "Primary Speed Command A" source to "3-Analog Control Mode 1," and set the "Speed Command Selection" to "0-Primary Speed Setpoint."
2. Configure the I/O terminal functions:
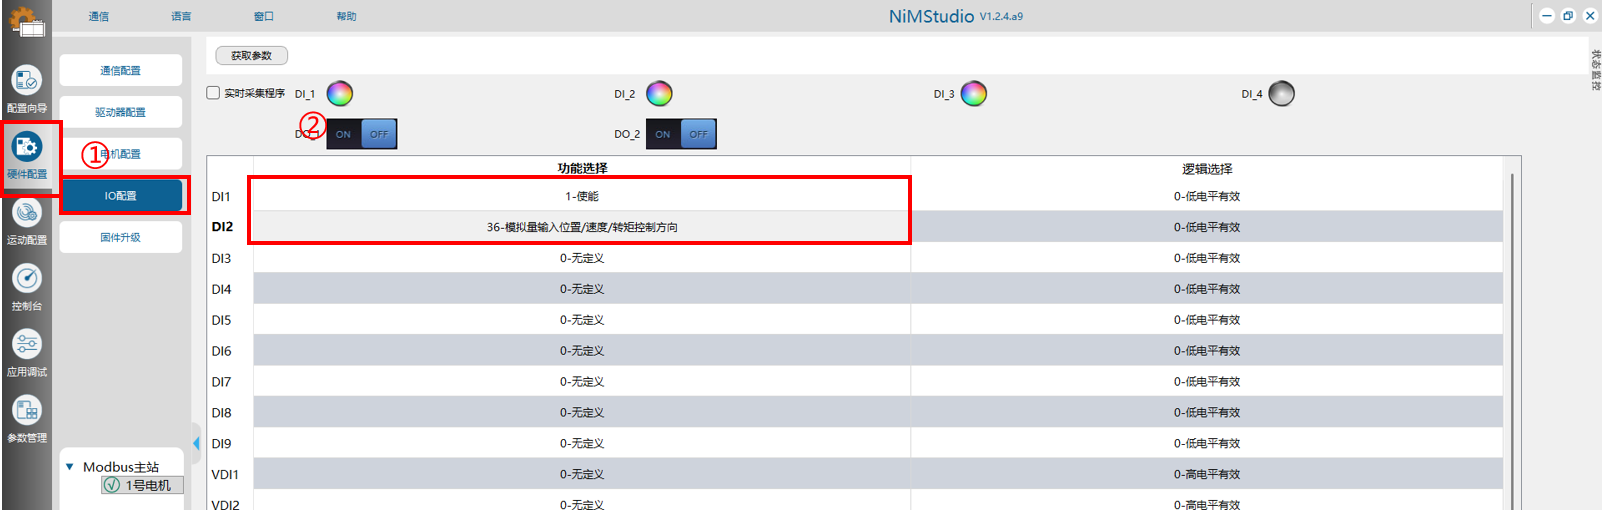
(1) Navigate to the "Hardware Configuration" -> "I/O Configuration" interface;
(2) Set DI1 to "1-Enable" and DI2 to "16-Analog Input Direction Control (for Position/Speed/Torque)."
3. Set the position control range:
(1) Navigate to the "Parameter Management" -> "User Parameter Management" interface;
(2) Select the three parameter categories and enable "Auto-refresh";
(3) Search for "Analog" in the search bar, then adjust the "Analog 10V Equivalent Speed Value" parameter to your desired setting;
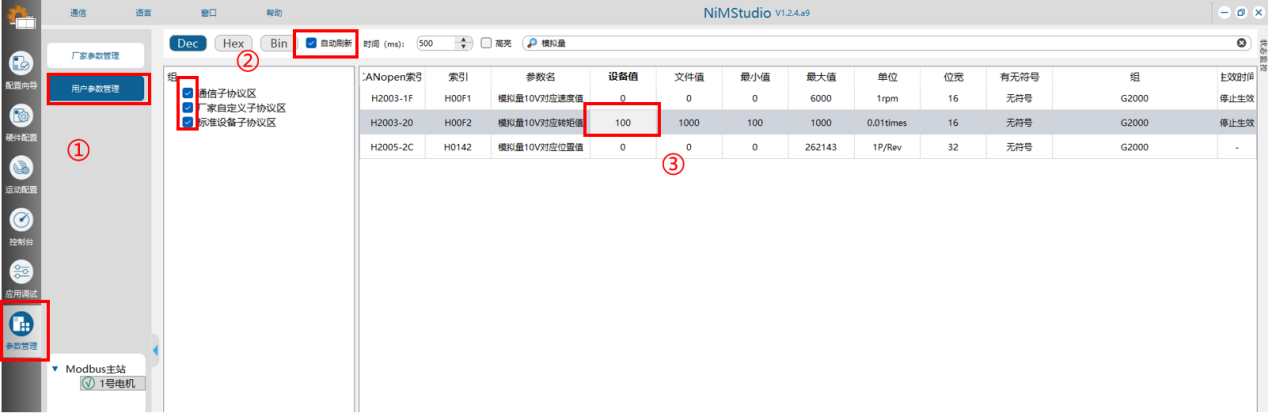
(4) Note: In the same interface, you can search for "AI1 Voltage Sample Value" to view the actual analog input level.
4. Operation:
(1) Once the analog parameters and enable function have been configured, connect the wiring according to the specific wiring diagram for your motor model;
(2) Activate DI1 (Enable) to start the motor; it will operate at a speed corresponding to the current analog input value;
(3) Use DI2 to toggle the direction of rotation.